Secure IoT With Raspberry Pi & VPC: A Guide For Developers
In an era dominated by interconnected devices, is it possible to create secure communication channels for the Internet of Things (IoT) without breaking the bank? Absolutely. Securing remote IoT devices to a Virtual Private Cloud (VPC) using the cost-effective Raspberry Pi is not only achievable but is becoming an essential skill for developers and tech enthusiasts worldwide.
As the Internet of Things (IoT) ecosystem continues its exponential growth, the need for secure and reliable communication between devices is paramount. From smart home gadgets to complex industrial machinery, the integrity of data transmitted and received is crucial. This article serves as a comprehensive guide for both seasoned developers and curious hobbyists, outlining the steps necessary to securely connect remote IoT devices using the versatile Raspberry Pi platform. We'll delve into the intricacies of this process, ensuring you're equipped with the necessary knowledge and resources to implement robust security measures.
Beyond establishing secure connections, we will also explore the process of downloading and configuring the Raspberry Pi operating system on Windows, all at no cost. This will allow users to experiment with their IoT applications without investing in expensive hardware or software. By the conclusion of this guide, you'll possess a thorough understanding of the tools, techniques, and best practices for creating a secure, connected IoT environment.
| Technical Overview: Internet of Things and Security | |
|---|---|
| Definition of IoT | A network of physical objects ("things") embedded with sensors, software, and connectivity that enables them to exchange data with other devices and systems over the Internet. |
| Ubiquity | IoT devices are found across various sectors, including but not limited to:
|
| The Imperative of Security |
|
| Common Vulnerabilities: |
|
A Virtual Private Cloud (VPC) serves as a pivotal component in safeguarding IoT deployments. It is, in essence, a private network within a public cloud, providing a controlled environment for your resources.
A VPC allows you to define your own IP address range, establish subnets, configure route tables, and implement security groups. These features allow for a tightly controlled and secure network topology. Utilizing a VPC allows for enhanced security through network isolation, flexible and scalable networking options, granular control over access permissions, and improved performance through optimized routing.
| Key Advantages of VPCs in IoT Environments | |
|---|---|
| Security Enhancements |
|
| Scalability and Flexibility |
|
| Performance Optimization |
|
| Cost Management |
|
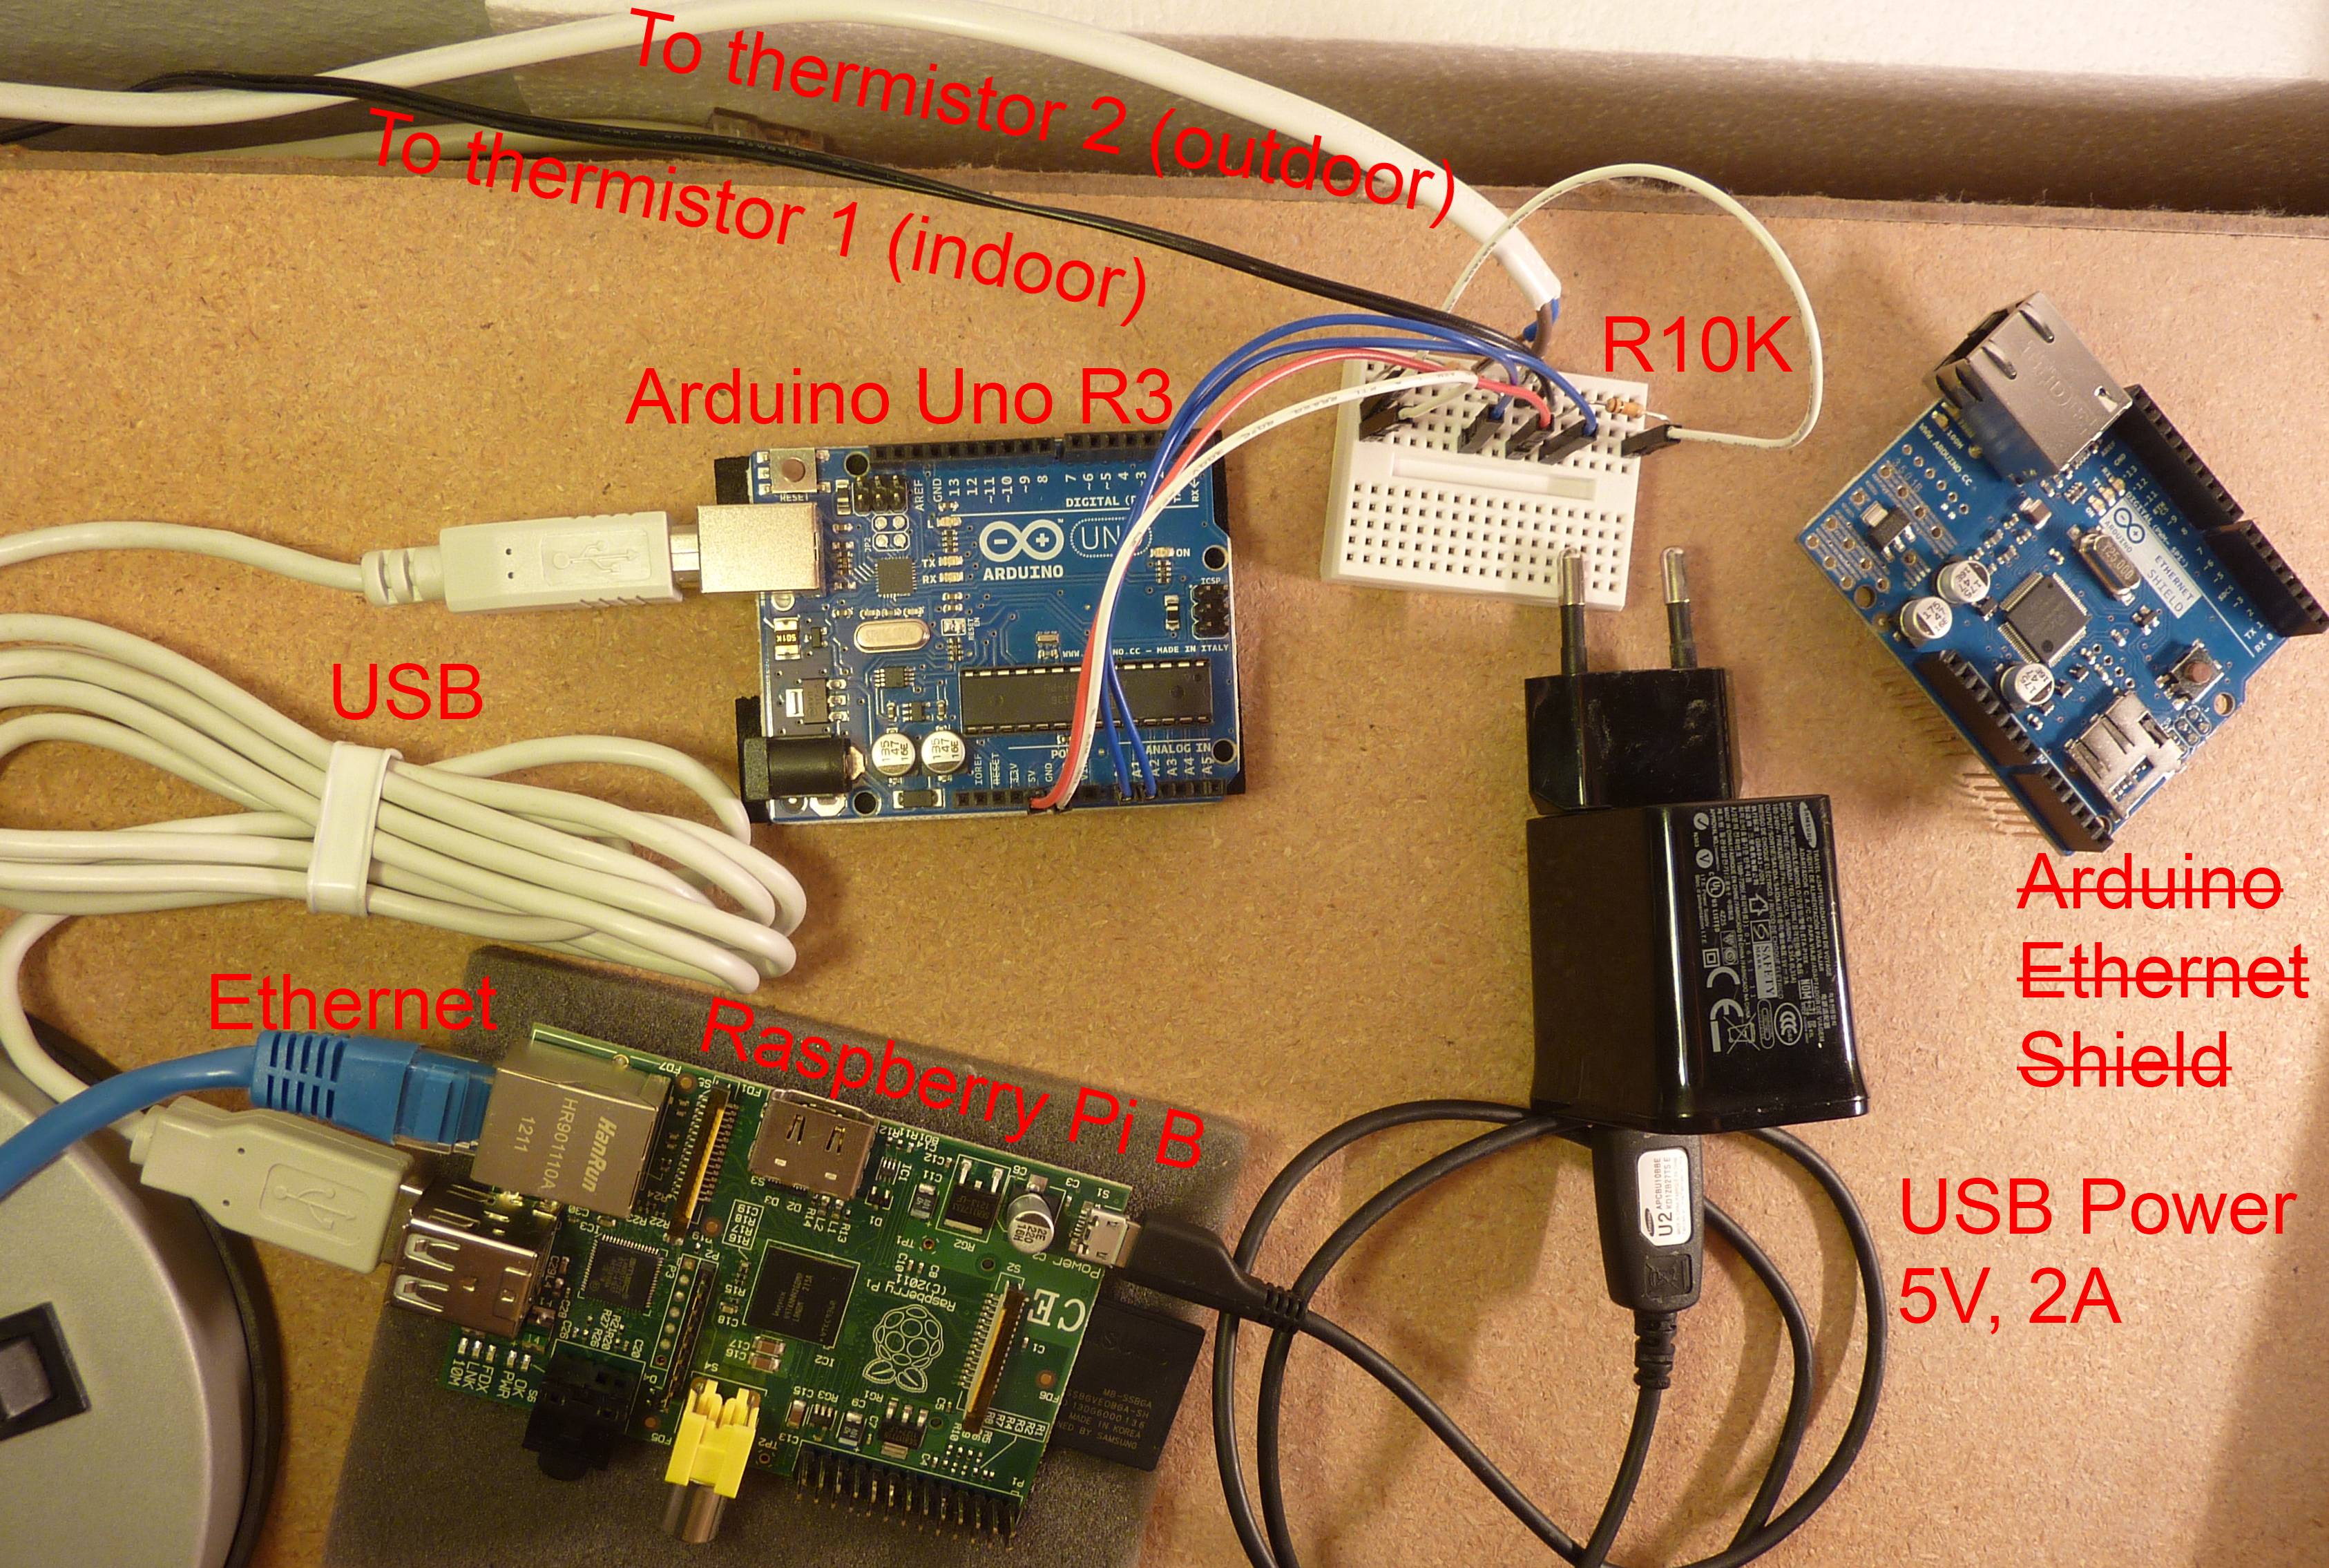
The Raspberry Pi, with its compact size, low cost, and versatility, has become a cornerstone of the IoT revolution. The process of setting up a Raspberry Pi for IoT applications is straightforward, making it accessible to both beginners and experienced developers. This section is a hands-on guide to preparing a Raspberry Pi for secure IoT connections.
- Acquiring the Essentials: First, you will need a Raspberry Pi board (any model will generally suffice, but the latest models offer improved performance), a microSD card (8GB or larger recommended), a power supply, and optionally, a case for protection.
- Downloading the Operating System: Navigate to the official Raspberry Pi website and download Raspberry Pi OS. This is the recommended operating system for ease of use, although other Linux distributions are also compatible. Choose the "Raspberry Pi OS with desktop and recommended software" for a user-friendly experience.
- Flashing the SD Card: Use a dedicated tool such as BalenaEtcher or Raspberry Pi Imager to "flash" the downloaded OS image onto your microSD card. This process overwrites the contents of the card and makes it bootable.
- Initial Setup: Insert the microSD card into your Raspberry Pi and connect a monitor, keyboard, and mouse (if using a desktop environment). Power on the Raspberry Pi.
- Configuration:
- Network Configuration: Connect to your Wi-Fi network (or use an Ethernet cable for a more stable connection). Configure the Wi-Fi settings via the desktop interface or command line.
- SSH Enablement: Enable SSH (Secure Shell) to allow for remote access to your Raspberry Pi. This is crucial for headless operation (without a monitor and keyboard).
- Update Software: Update the OS to the latest packages by running the command `sudo apt update && sudo apt upgrade` in the terminal.
- Installing IoT Libraries and Frameworks: Depending on the specific IoT application, you will need to install libraries and frameworks such as:
- Python Libraries: `pip install ` for libraries like `paho-mqtt`, `RPi.GPIO`, etc.
- Node.js (Optional): For applications based on JavaScript.
- Other SDKs: Install any necessary Software Development Kits (SDKs) from the manufacturers of your sensors or devices.
Security must be a primary concern when deploying IoT devices. Without strong security measures, your devices could be vulnerable to cyberattacks, leading to data breaches, system compromise, and potential physical harm. When utilizing Raspberry Pi, the inherent capabilities of the platform can be leveraged to enhance the security posture of your IoT network.
- Strong Passwords: Enforce the use of strong, unique passwords for all devices, including the Raspberry Pi itself. Consider using a password manager.
- Enable Encryption: Encrypt all data transmitted between devices and the cloud. Utilize protocols such as TLS/SSL for secure communication.
- Regular Updates: Regularly update the Raspberry Pi's OS and any installed software. Patches often include fixes for security vulnerabilities. Enable automatic updates where feasible.
- Firewalls: Implement a firewall on your Raspberry Pi to control inbound and outbound traffic. Configure the firewall to only allow necessary connections.
- Intrusion Detection Systems (IDS): Consider using an IDS to monitor network traffic for malicious activity.
- Secure Boot: Explore options for secure boot to ensure that only verified and trusted software runs on your Raspberry Pi.
- Physical Security: Secure the physical location of your Raspberry Pi and any connected devices to prevent unauthorized access.
Connecting a Raspberry Pi to a VPC is a crucial step in securing communication between your IoT devices and the cloud. This enables you to create a secure, isolated network environment, protecting your devices and data. This section provides detailed steps to connect your Raspberry Pi to a VPC.
- VPC Creation and Configuration: Log in to your AWS account and create a VPC (if you haven't already). Configure subnets within the VPC. Subnets divide the VPC's IP address range into smaller networks. Decide on the IP address range (CIDR block) for your VPC and subnets. Configure route tables to direct network traffic within your VPC and to the internet (if needed).
- Security Group Setup: Create a security group within your VPC. Security groups act as virtual firewalls, controlling inbound and outbound traffic for your resources. Configure the security group to allow inbound traffic on the ports that your Raspberry Pi and IoT devices require. For example, open port 22 for SSH access, and any ports used by your IoT applications (e.g., MQTT, HTTP).
- Connecting the Raspberry Pi:
- SSH Tunneling: Use SSH tunneling to securely connect to your Raspberry Pi from within your VPC. This involves creating a tunnel through which all traffic is encrypted.
- VPN Connection: If you need to connect many devices or require more complex network configurations, consider setting up a VPN (Virtual Private Network). OpenVPN is a popular choice for Raspberry Pi.
- Testing the Connection: After connecting your Raspberry Pi to the VPC, test the connection to ensure secure communication. This may involve:
- Ping Test: Ping the IP address of a device within the VPC from your Raspberry Pi to confirm basic connectivity.
- Application-Level Testing: Test your IoT applications to verify that they can send and receive data securely.
One of the significant advantages of utilizing Raspberry Pi is the ease with which you can get started. Setting up a Raspberry Pi on a Windows environment can be done effortlessly and free of charge, which allows for experimentation and development without any financial constraints.
- Access the Official Website: Visit the official Raspberry Pi website. Navigate to the "Downloads" section.
- Select the Operating System: Choose the appropriate Raspberry Pi OS version for your project. Consider the "Raspberry Pi OS with desktop and recommended software" for a user-friendly experience, or "Raspberry Pi OS Lite" for a more minimal installation (ideal for headless operation).
- Download the Image File: Download the image file (a .img file) of the chosen operating system.
- Use a Flashing Tool: Utilize a tool like BalenaEtcher, Raspberry Pi Imager (or other similar software) to write the image file to an SD card.
- Flash the SD Card: Choose the downloaded image file and your SD card as the target. The flashing tool will copy the operating system to the SD card, making it bootable.
- Boot from the SD Card: Once the process is complete, insert the SD card into your Raspberry Pi and power it on.
| Essential Tools for IoT Development | |
|---|---|
| MQTT | A lightweight messaging protocol, ideal for IoT device communication. It enables efficient and reliable data exchange. |
| Node-RED | A flow-based programming tool that simplifies the creation of IoT applications through a visual interface. |
| AWS IoT Core | A managed cloud service for securely connecting IoT devices to the cloud, enabling data ingestion, device management, and more. |
| Programming Languages: |
|
| Operating Systems: |
|
Real-world applications demonstrate the practical benefits of integrating Raspberry Pi with VPCs for secure IoT connectivity. These case studies highlight challenges and opportunities.
| Smart Agriculture Case Study | |
|---|---|
| Application |
|
| IoT Devices |
|
| VPC Integration |
|
| Benefits |
|
| Challenges |
|
In the process of setting up secure IoT connections, issues can arise. Understanding common problems and their solutions is important to ensure a smooth implementation. Here are several troubleshooting methods:
- Network Configuration Problems: Ensure all network settings are correct, including IP addresses, subnet masks, gateways, and DNS servers. Verify that the Raspberry Pi has a stable internet connection and can access the VPC. Test the network connection using the `ping` command.
- Security Breaches: Review all security settings. Update firmware regularly. Implement firewalls, intrusion detection systems (IDS), and monitor for suspicious activity. Regularly audit your security configurations.
- Performance Bottlenecks: Optimize network configurations, prioritize network traffic, and reduce unnecessary traffic. This improves performance. Optimize the code and reduce unnecessary data transmission.
- VPC Configuration Issues: Ensure proper configuration of VPC, subnets, security groups, and route tables. Verify that security groups allow traffic on the necessary ports. Confirm that the Raspberry Pi can reach the VPC's resources.
- Device Connectivity Problems: Double-check the physical connections of your IoT devices to your Raspberry Pi. Use a network scanner to discover devices and troubleshoot.

Detail Author:
- Name : Letitia Ledner MD
- Username : olson.franco
- Email : lkonopelski@hotmail.com
- Birthdate : 1980-06-13
- Address : 7212 Terrell Parkways Apt. 496 South Bertrandhaven, SC 46846-8724
- Phone : 404-539-4156
- Company : Mante-Lebsack
- Job : Pantograph Engraver
- Bio : Eius perspiciatis laborum sed unde animi dolores veniam. Quis et sit dolorum qui rerum aut. Vel laborum dolores accusantium ipsam soluta quae doloremque.
Socials
linkedin:
- url : https://linkedin.com/in/coty.mraz
- username : coty.mraz
- bio : Modi unde unde nulla est ut sed saepe.
- followers : 1128
- following : 1686
tiktok:
- url : https://tiktok.com/@cmraz
- username : cmraz
- bio : Neque animi quam delectus labore eaque voluptatem. Dignissimos qui aliquam cum.
- followers : 610
- following : 2952
twitter:
- url : https://twitter.com/coty9610
- username : coty9610
- bio : Omnis aliquid nesciunt aut impedit suscipit. Neque dicta veritatis doloribus debitis eveniet voluptas quae sint. Sit ab ea illo possimus aliquam et.
- followers : 2498
- following : 1077

 without breaking the bank)